How to Use a Push Button – Arduino Tutorial

In the Arduino Button tutorial you are going to learn about interfacing the button with Arduino using the Arduino digitalRead function. The buttons are very easy to use with Arduino but you have to take care of few things like using the pull up resistor or using the pull down resistor that I am going to explain in this tutorial. Without these things, the button will behave erratically.
We will first simply connect the button with Arduino and will observe the unusual behavior of the button. Then I will explain to you when is happening and we will overcome this problem by using either the external Pull up or Pull down resistor or internal Pull up resistor of the Arduino.
Then we will follow a more practical example and will make the LED high on pressing the button two times and the LED will go LOW on pressing the button one time.
Components :
- Arduino Uno
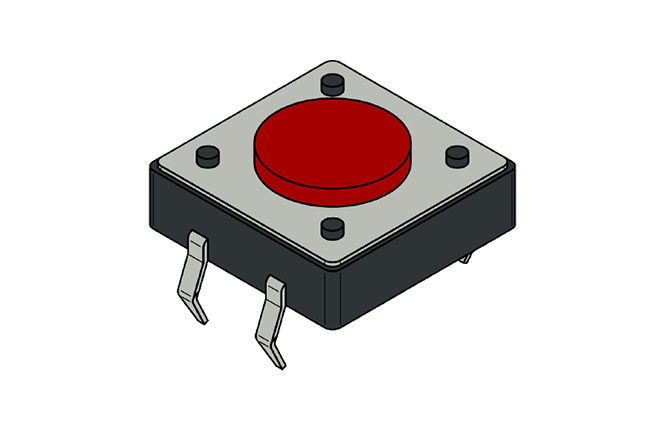
- PushButton
- Led
- 220 ohm resistor
- Jumper wires
- Breadboard
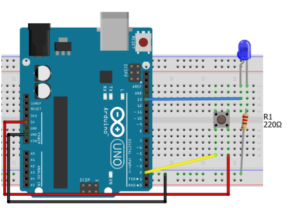
Connections:

Example Code:
const int buttonPin = 2;  // the number of the pushbutton pin

const int ledPin = 13;  // the number of the LED pin

// variables will change:

int buttonState = 0;  // variable for reading the pushbutton status


void setup() {

 Serial.begin(9600);

 // initialize the LED pin as an output:

  pinMode(ledPin, OUTPUT);

 // initialize the pushbutton pin as an input:

  pinMode(buttonPin, INPUT);

}


void loop() {

  // read the state of the pushbutton value:

  buttonState = digitalRead(buttonPin);


  // Show the state of pushbutton on serial monitor

  Serial.println(buttonState);


  // check if the pushbutton is pressed.

  // if it is, the buttonState is HIGH:

  if (buttonState == HIGH) {

     // turn LED on:

    digitalWrite(ledPin, HIGH);

  } else {

     // turn LED off:

     digitalWrite(ledPin, LOW);

  }

  // Added the delay so that we can see the output of button

  delay(100);

}
Leave a Comment
(0 Comments)