How to use Servo Motor – Arduino Tutorial
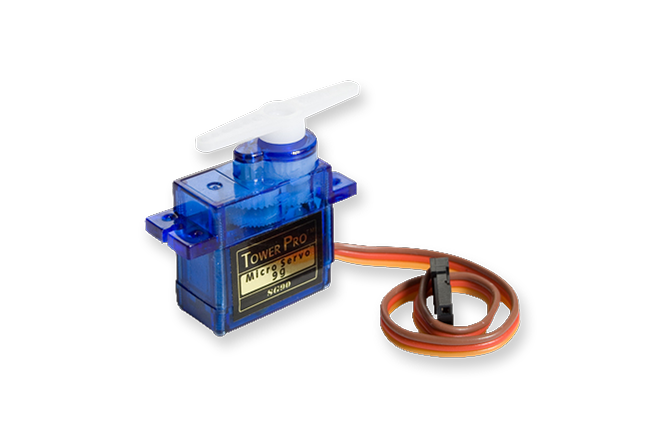
Servo motors are great devices that can turn to a specified position.
Usually, they have a servo arm that can turn 180 degrees. Using the Arduino, we can tell a servo to go to a specified position and it will go there. As simple as that!
Servo motors were first used in the Remote Control (RC) world, usually to control the steering of RC cars or the flaps on a RC plane. With time, they found their uses in robotics, automation, and of course, the Arduino world.
Components :
- Arduino Uno
- Servo motor
- Connecting wares
Connections:
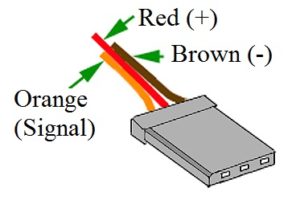
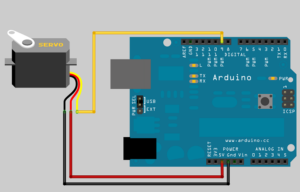
- Connect the black wire from the servo to the GND pin on the Arduino
- Connect the red wire from the servo to the +5V pin on the Arduino
- Connect the yellow or white wire from the servo to a digital pin on the Arduino
Example Code:
#include <Servo.h>

Servo myservo;  // create servo object to control a servo


void setup() {

  myservo.attach(9);  // attaches the servo on pin 9 to the servo object

}

void loop() {

  myservo.write(180);              // goes from 0 degrees to 180 degrees

  delay(15);                       // waits 15ms for the servo to reach the position

  myservo.write(180);             // goes from 180 degrees to 0 degrees

  delay(15);                       // waits 15ms for the servo to reach the position

}
Now write a advance code that continuously rotate between 0 to 180 degree,
#include <Servo.h>

Servo myservo;  // create servo object to control a servo
int pos = 0;    // variable to store the servo position

void setup() {

  myservo.attach(9);  // attaches the servo on pin 9 to the servo object

}

void loop() {

  for (pos = 0; pos <= 180; pos += 1) { // goes from 0 degrees to 180 degrees

    myservo.write(pos);              // tell servo to go to position in variable 'pos'
    delay(15);                       // waits 15ms for the servo to reach the position

  }

  for (pos = 180; pos >= 0; pos -= 1) { // goes from 180 degrees to 0 degrees

    myservo.write(pos);              // tell servo to go to position in variable 'pos'
    delay(15);                       // waits 15ms for the servo to reach the position

  }

}
myservo.attach(9);
Attach the Servo variable to a pin. Note that in Arduino 0016 and earlier, the Servo library supports only servos on only two pins: 9 and 10.
Syntax
servo.attach(pin)
servo.attach(pin, min, max)
Parameters
servo: a variable of type Servo
pin: the number of the pin that the servo is attached to
min (optional): the pulse width, in microseconds, corresponding to the minimum (0-degree) angle on the servo (defaults to 544)
max (optional): the pulse width, in microseconds, corresponding to the maximum (180-degree) angle on the servo (defaults to 2400)
myservo.write(pos);
Writes a value to the servo, controlling the shaft accordingly. On a standard servo, this will set the angle of the shaft (in degrees), moving the shaft to that orientation. On a continuous rotation servo, this will set the speed of the servo (with 0 being full-speed in one direction, 180 being full speed in the other, and a value near 90 being no movement).
Syntax
servo.write(angle)
Parameters
servo: a variable of type Servo
angle: the value to write to the servo, from 0 to 180
Leave a Comment
(0 Comments)