ListView in Android Studio Java
In Android development, any time we want to show a vertical list of scrollable items we will use a ListView which has data populated using an Adapter. The simplest adapter to use is called an ArrayAdapter because the adapter converts an ArrayList of objects into View items loaded into the ListView container.
Adapter: To fill the data in a ListView we simply use adapters. List items are automatically inserted to a list using an Adapter that pulls the content from a source such as an arraylist, array or database.
Using a Basic ArrayAdapter
First we add ListView in our activity_main.xml. Our activity_main.xml look like this
<?xml version="1.0" encoding="utf-8"?>
<LinearLayout xmlns:android="http://schemas.android.com/apk/res/android"
    android:layout_width="match_parent"
    android:layout_height="match_parent"
    android:orientation="vertical" >
    <ListView
        android:id="@+id/ListView"
        android:layout_width="fill_parent"
        android:layout_height="wrap_content"
        android:divider="@android:color/transparent"/>
</LinearLayout>
Now we create a new layout resource file [ riglt click layour -> new -> Layour Resource File ] name activity_list_item.xml. In this file we design how our listview item look like. Simply copy and paste this code into your created activity_list_item.xml file.
<?xml version="1.0" encoding="utf-8"?>
<LinearLayout xmlns:app="http://schemas.android.com/apk/res-auto"
    xmlns:android="http://schemas.android.com/apk/res/android"
    android:orientation="vertical"
    android:layout_width="match_parent"
    android:layout_height="wrap_content">
    <androidx.cardview.widget.CardView
        android:layout_height="match_parent"
        android:layout_width="match_parent"
        android:layout_margin="5dp"
        app:cardCornerRadius="6dp"
        app:cardElevation="2dp" >
        <TextView
            android:id="@+id/textView"
            android:layout_width="fill_parent"
            android:layout_height="wrap_content"
            android:layout_gravity="center"
            android:padding="10dp"
            android:text="fruit list"
            android:textColor="#000000" />
    </androidx.cardview.widget.CardView>
</LinearLayout>
In this code , we use CardView for better look. If we use this CardView we need to add a gradle. Open your build.gradle (Module: app) file and paste it inside the dependencies curly bracket and then sync your project.
implementation "androidx.cardview:cardview:1.0.0"Now its time to write some Program
First we declare one ListView type global variable and one String Type Array
String FruitList[] = {"Apple", "Banana", "Lemon", "Cherry", "Strawberry", "Avocado"};To use a basic ArrayAdapter you just need to initialize the adapter and attach the adapter to the ListView. First, we initialize the adapter:
ArrayAdapter<String> arrayAdapter = new ArrayAdapter<String>(this, R.layout.activity_list_item, R.id.textView, FruitList);The ArrayAdapter requires a declaration of the type of the item to be converted to a View (a String in this case) and then accepts three arguments: context (activity instance), XML item layout, and the array of data. Note that we’ve chosen activity_list_item.xml which is a simple TextView as the layout for each of the items.
Now, we just need to connect this adapter to a ListView to be populated:
ListView simpleList = (ListView)findViewById(R.id.ListView);
simpleList.setAdapter(arrayAdapter);
By default, this will now convert each item in the data array into a view by calling toString on the item and then assigning the result as the value of a TextView (activity_list_item.xml) that is displayed as the row for that data item. If the app requires a more complex translation between item and View then we need to create a custom ArrayAdapter instead.
Our MainActivity.java look like this
import androidx.appcompat.app.AppCompatActivity;
import android.os.Bundle;
import android.view.View;
import android.widget.AdapterView;
import android.widget.ArrayAdapter;
import android.widget.ListView;
import android.widget.Toast;

public class MainActivity extends AppCompatActivity {
    // Array of strings...
    String  FruitList[] = {"Apple", "Banana", "Lemon", "Cherry", "Strawberry", "Avocado"};

    @Override
    protected void onCreate(Bundle savedInstanceState) {
        super.onCreate(savedInstanceState);
        setContentView(R.layout.activity_main);

        ArrayAdapter<String> arrayAdapter = new ArrayAdapter<String>(this, R.layout.activity_list_item, R.id.textView, FruitList);
        ListView simpleList = (ListView)findViewById(R.id.ListView);
        simpleList.setAdapter(arrayAdapter);

        simpleList.setOnItemClickListener(new AdapterView.OnItemClickListener() {
            @Override
            public void onItemClick(AdapterView<?> arg0, View v, int position, long id) {
                // TODO Auto-generated method stub
                Toast.makeText(getApplicationContext(),FruitList[position],Toast.LENGTH_SHORT).show();
            }

        });
    }
}
Handle our ListView Item clik we use ListView OnClickListener function.
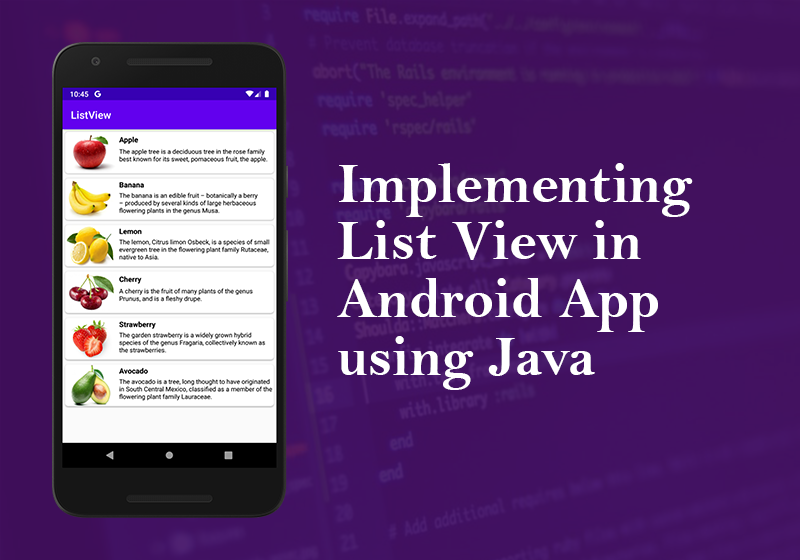
When you run this your application will look like this

ListView using Custom Adapter in page 2.
Leave a Comment
(0 Comments)